cheat-sheet: tmux basic usage
Cheat Sheet & Quick Reference for tmux
Cheat Sheet & Quick Reference for tmux
Take notes on the go without distractions, faster and easier than ever. If you’re someone who wants to store your notes without opening an application, this versatile and feature-rich solution is perfect for you as you work.
This is a really interesting backup application to use, it kinda reminds me of git the version controlling tool. I mean restic is not gonna “version control” but it uses the same technology in a way that enables us to backup things without duplication. I’m using restic to backup the files in a sftp server. So this post is gonna cover the sftp aspects. However, I’m using a mobile phone as an ftp server, and I’m going to be using a weird directory name. ...

How to install OpenMediaVault & troubleshoot errors after during installation or setup

I got my hands on the Raspberry Pi 5 few weeks ago, but I wasn’t able to use it for any purpose (more like I’m out of ideas). I mostly wanted to test the pihole in my network, but using Pi 5 just for that would be an overkill! So I got a Raspberry Pi Zero 2 W and installed Pihole natively. I wrote a post about it, feel free check-out. Also, when I ordered for the Raspberry Pi Zero 2 W, I forgot to order for a microSD, so I used the one in the Pi 5 which is a 64GB microSD card (I know it’s an overkill!). The entire Pi Zero is running just the Pihole with a 64GB microSD. ...
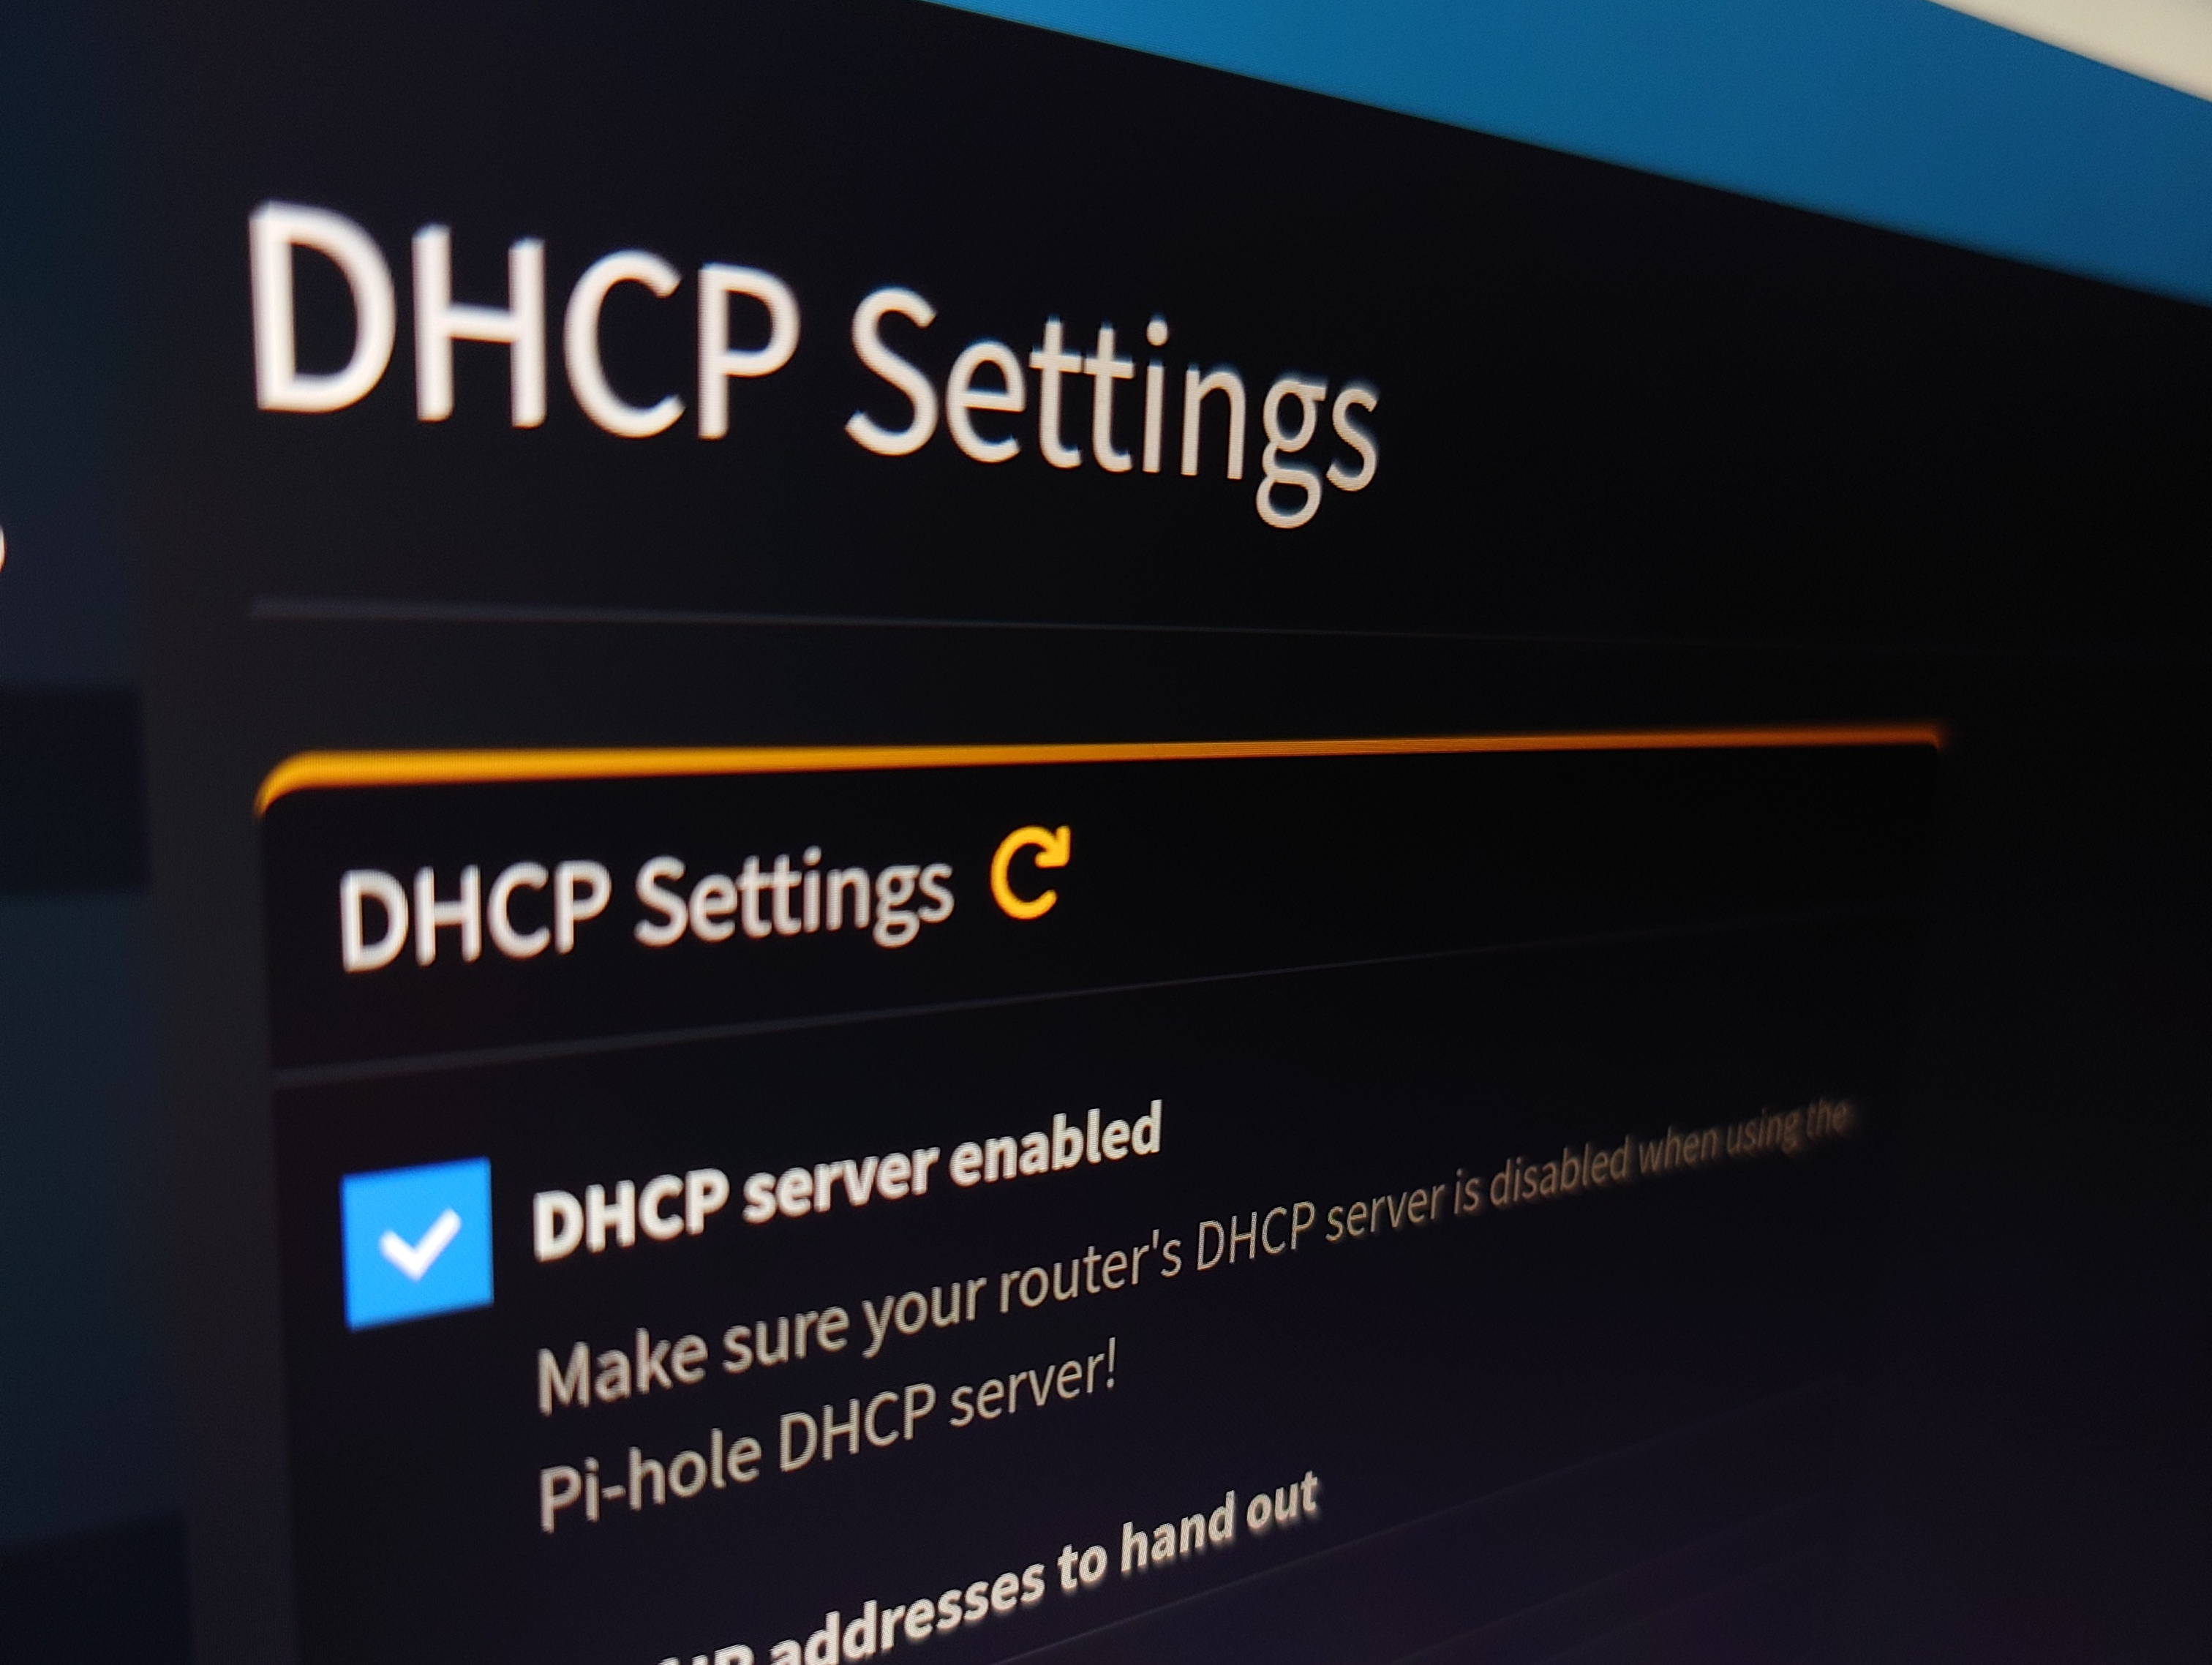
What is DHCP? DHCP (Dynamic Host Configuration Protocol) is a network management protol that automates the assignment of IP address to the devices that connect to a network and it also handles other network configuration parameters such as subnet mask, default gateway and DNS settings. Why do we need IP address anyway? Let’s take an example, You visit a coffee shop and connect to it’s Wi-Fi network. In doing so, you are essentially connecting to the shop’s router, which provides the internet connection. The router itself is connected to an internet service provider(ISP) via a modem or an antenna(in case of wireless broadband). ...
I just got my hands on “Raspberry Pi Zero 2W” today, let’s setup the Pi! Setup the Pi Make sure to use pi-imager for writing the OS into the microSD. Also use a router as well for easy-setup. Choose “Raspberry Pi OS 32-bit with no desktop environment” for the OS. Make sure to edit the username & password, SSID configurations, enable SSH using authentication, additonally note-down the hostname for ssh connection. Insert the microSD into Pi Zero after the OS installation. Plug in the microUSB into Pi and wait for few seconds to boot up. Head inside the router web-page and look into the connected clients. Identify the hostname (default:“raspberrypi”) and note-down the IP address. Let’s ssh into the Pi! ssh username@192.168.31.xxx Now you are inside the Pi, please update & upgrade the packages in it for further installations. ...
What is a static IP address? A static IP address is a fixed Internet Protocol (IP) address assigned to a device, which does not change over time. It serves as a unique identifier within a network, enabling it connect & communicate effectively. It is recommended to assign a static IP address to a device, which is always stationary & connected to the same network. Assigning static IP address on a frequently moving device will result in conflicts and blocks from either connecting to a router or accessing internet. ...
I don’t have enough knowledge about this when writing the documenation for setting up the pi-hole. I’m running this on a container in Raspberry Pi 5 8GB device (I know it’s an overkill but it’s for learning). Let’s use docker compose to run the pi-hole container Create directory for storing pi-hole configurations mkdir pihole-config cd pihole-config Create a file named docker-compose.yml touch docker-compose.yml Copy & paste this YAML configuration into docker-compose.yml services: pihole: container_name: pihole image: pihole/pihole:latest ports: - "53:53/tcp" # DNS Ports - "53:53/udp" # DNS Ports - "80:80/tcp" # Default HTTP Port - "443:443/tcp" # Default HTTPs Port - "67:67/udp" # using Pi-hole as your DHCP server environment: TZ: 'Asia/Kolkata' # Not setting one will result in a random password being assigned FTLCONF_webserver_api_password: 'pass' # If using Docker's default `bridge` network setting the dns listening mode should be set to 'all' FTLCONF_dns_listeningMode: 'all' volumes: # Pi-hole's databases and common configuration file - './etc-pihole:/etc/pihole' # Uncomment the below if you have custom dnsmasq config files that you want to persist. Not needed for most starting fresh with Pi-hole v6. If you're upgrading from v5 you and have used this directory before, you should keep it enabled for the first v6 container start to allow for a complete migration. It can be removed afterwards. Needs environment variable FTLCONF_misc_etc_dnsmasq_d: 'true' #- './etc-dnsmasq.d:/etc/dnsmasq.d' cap_add: # See https://github.com/pi-hole/docker-pi-hole#note-on-capabilities # Required if you are using Pi-hole as your DHCP server, else not needed - NET_ADMIN # Required if you are using Pi-hole as your NTP client to be able to set the host's system time - SYS_TIME # Optional, if Pi-hole should get some more processing time - SYS_NICE restart: unless-stopped Run the docker compose docker compose up -d Head inside the weblogin. i.e, http://localhost:80/admin (Note: Make sure the URL ends with /admin) Let’s setup the DNS address and connect other devices to use pi-hole Login into the pi-hole web login Goto Settings » DNS > Click the DNS of your liking in IPV4(I chose Open DNS) Let’s Connect from a Device pi-hole installed in 192.168.31.102, so make sure to point the devices to this IP address. Change the DNS manually on a specific connection. sudo nmcli connection modify device-name ipv4.dns "192.168.31.102" sudo nmcli connection reload sudo nmcli connection up device-name Check whether it’s actually allocated to the device ...
Key features No root required to remove the bloatware. Cross platform, meaning it’s accessible on almost all the platforms. Getting Started: Download the Universal Android De-bloater (UADNG) from the github release. Extract the Files in your custom location. Install the dependencies sudo dnf install adb This would be enought to run the tool, now let’s see how to use it! Enable USB Debugging in your android phone. (mandatory) Connect the device with the computer you are running the tool. Run the Universal Android De-Bloater. Well, this would be my goto page whenever I need to remove the bloatware from my device. ...